SOURSPARK / BLOG
 Brick-Breaker Guides
Brick-Breaker Guides
Don't choose the shooting angle based solely on the first brick it touches. Consider which areas the ball can reach on subsequent bounces. A longer path is not always better; What is important is the possibility of contact with dangerous or hard-to-reach bricks.
Read article
SOURSPARK / BLOG
Brick-Breaker Guides
Brick-Breaker Guides
If there is a brick directly in front of the shot, the sidewall can provide an alternative approach. However, it is necessary to evaluate the path between the bounce point and the next contact together. Touching the wall is not an advantage in itself; it is important that the ball turns towards the target.
Read article
SOURSPARK / BLOG
Brick-Breaker Guides
Brick-Breaker Guides
The priority is not only the brick with the highest durability. A piece that leads to a dangerous row near you, or a special brick that affects multiple areas, may be more valuable. Consider both the damage a shot does and the pattern it leaves on the next shot.
Read article
SOURSPARK / BLOG
Brick-Breaker Guides
Brick-Breaker Guides
Tough bricks may need several hits. Compare clearing space around them with using a rebound path that can hit them repeatedly. More open space may give you a better angle on the next shot.
Read article
SOURSPARK / BLOG
Brick-Breaker Guides
Brick-Breaker Guides
An empty corridor can make it easier for the ball to reach the upper areas. However, if the entry direction is inappropriate, the ball may pass near that gap. As well as seeing the corridor, it is necessary to think about the angle from which to enter it and which bricks to reach afterwards.
Read article
SOURSPARK / BLOG
Brick-Breaker Guides
Brick-Breaker Guides
Items such as bombs and horizontal lasers can affect different areas than a normal brick. Before choosing a special piece, examine what bricks are left around it. Triggering its effect in an empty area is not the same decision as using it in a busy area.
Read article
SOURSPARK / BLOG
Brick-Breaker Guides
Brick-Breaker Guides
Don't dismiss a failed shot as just bad luck. Consider first contact, unexpected bounce, and missed target separately. Once you find where the error starts, it becomes easier to fix a single variable on the next try.
Read article
SOURSPARK / BLOG
Brick-Breaker Guides
Brick-Breaker Guides
Normal Stage focuses on level progression, Rush on a faster pace, Classic on continuing play and 100 Balls on the score from a large volley. Read each mode’s description and choose according to whether you want to solve a level, play a short challenge or study your shots.
Read article
SOURSPARK / BLOG
Brick-Breaker Guides
Brick-Breaker Guides
Before using a power-up, identify the problem: an unreachable area, a tough brick or a blocked board. Choose an effect that addresses that problem rather than using a power-up simply because it is available.
Read article
SOURSPARK / BLOG
Brick-Breaker Guides
Brick-Breaker Guides
In the first session, the aim may not be to get a high score in each section, but to understand how the shot turned out. Watch the starting angle, initial contact, and bounce path. Then compare the difference by choosing a different target on the same mechanic.
Read article
SOURSPARK / BLOG
 Parking Puzzle Guides
Parking Puzzle Guides
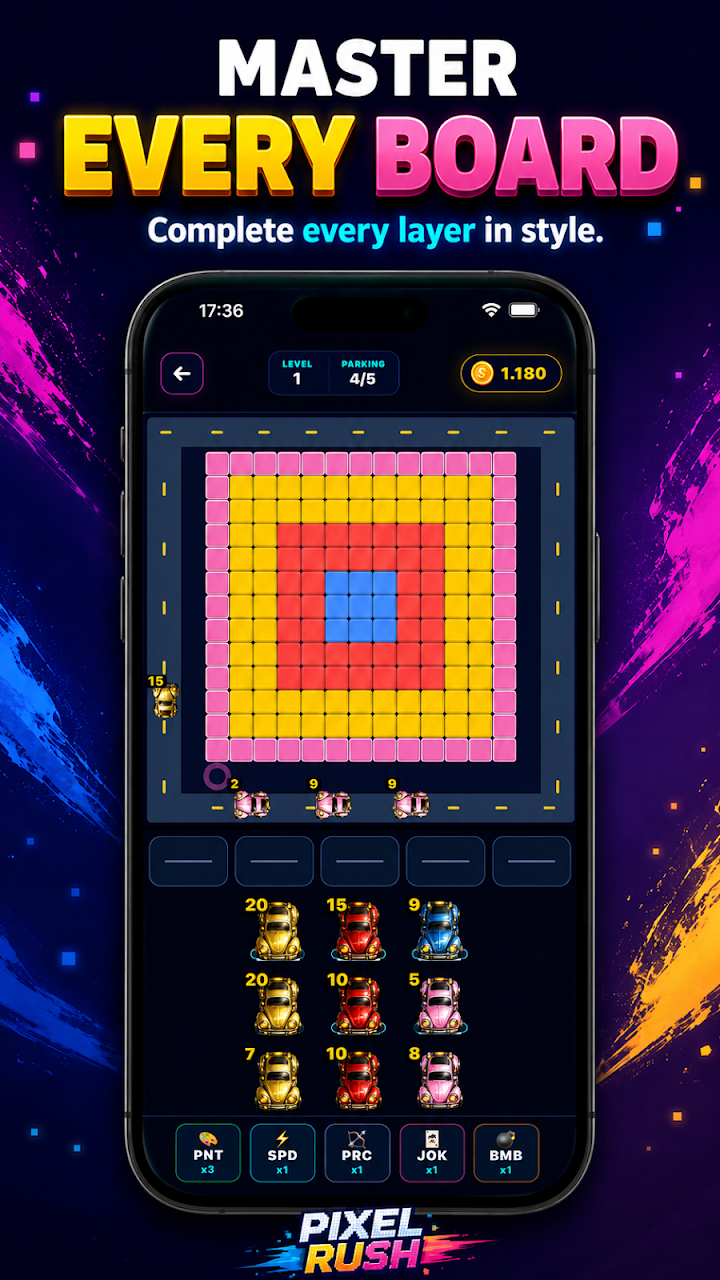
Before selecting a vehicle, check which vehicles its movement will uncover. A useful sequence matches colors while preserving space for later choices. Start by planning two moves ahead rather than solving the whole board at once.
Read article
SOURSPARK / BLOG
Parking Puzzle Guides
Parking Puzzle Guides
Treat free parking space as a limited resource. Select vehicles that contribute to a match instead of moving every available vehicle. If a vehicle will stay in the holding area, consider how much room it leaves for the next moves.
Read article
